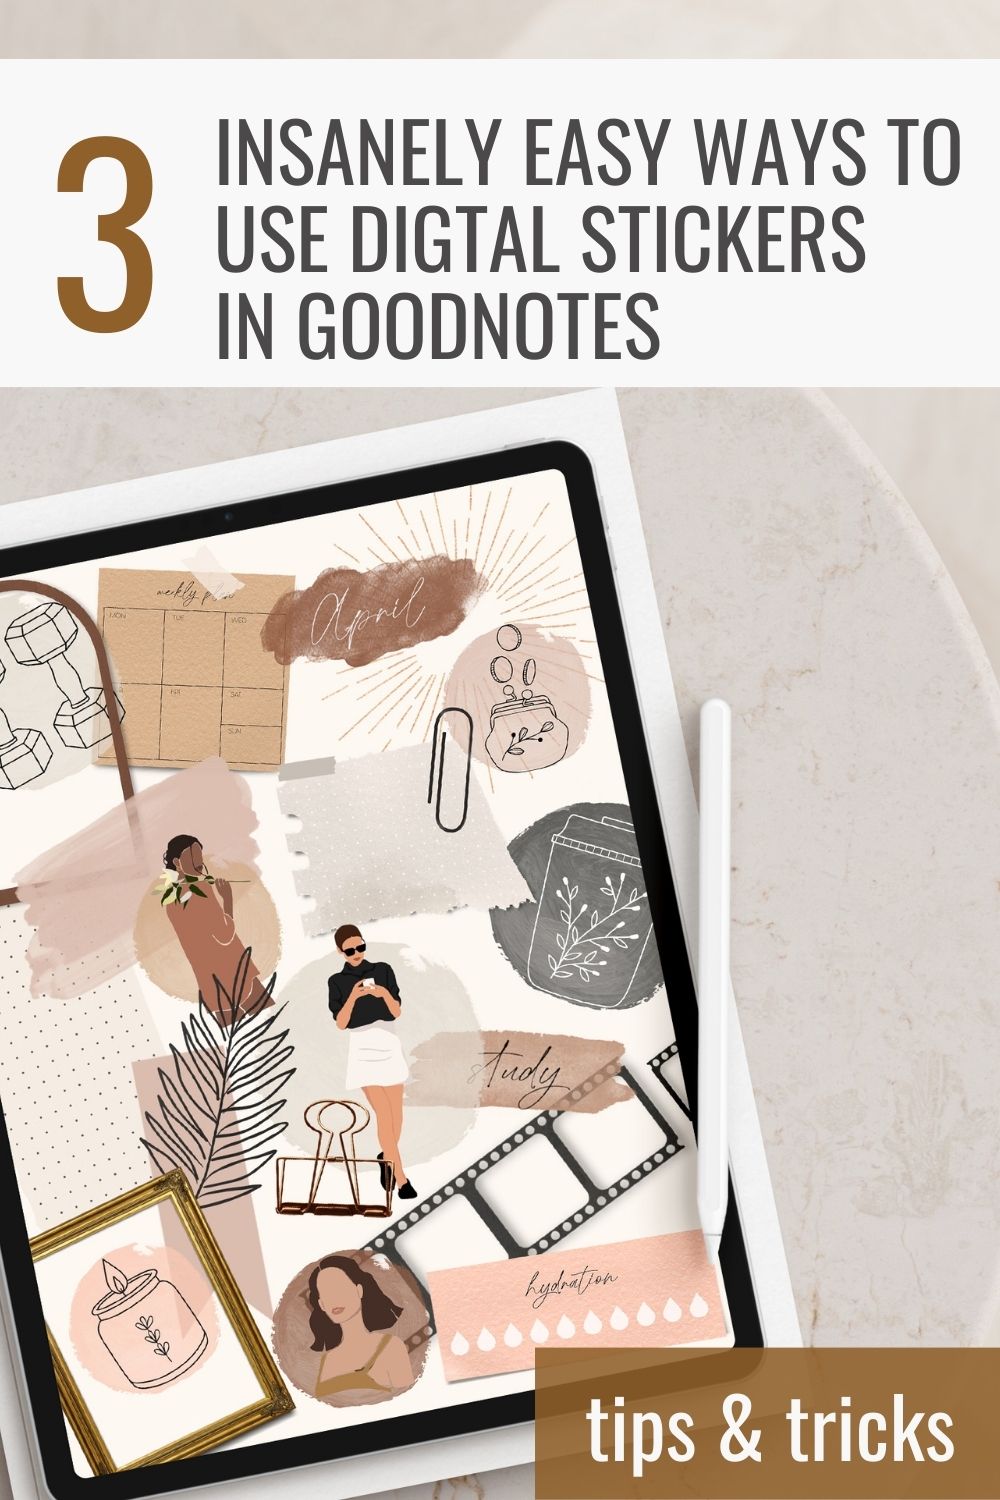
3 Insanely Easy Ways to Use Digital Stickers in GoodNotes
I get a lot of questions about digital stickers, so today I want to show you 3 easy methods to import digital stickers into your GoodNotes 5 app. Whether you're a seasoned digital planner or just starting out, you might learn a new technique here to elevate your planning game!
If you're a more visual learner, you may want to check out this tutorial on my youtube channel instead:
Method 1: The .goodnotes Sticker Book

If you've purchased a sticker set from me or any other creator, chances are it comes in the .goodnotes format, along with individual pre-cropped PNG files. This method offers a seamless way to import stickers into GoodNotes 5. Here's how you can do it:
- Open GoodNotes 5 and tap on the "new" icon.
- Select "import" and choose the sticker book file.
- My sticker books are thoughtfully organized and hyperlinked, allowing you to easily find the stickers you need.
- Keep the sticker book open side by side with your digital planner.
- Use the lasso tool to copy and paste the desired stickers from the sticker book into your planner.
- Enjoy the convenience of having a wide range of stickers at your fingertips!
Method 2: Drag and Drop
For a quick and easy way to add stickers from your files app, the drag and drop method is your go-to option. Here's how to do it:
- Open GoodNotes 5 in split screen with your files app.
- Locate the sticker you want to use.
- Simply drag the sticker into the notebook where you want to add it.
- Resize and position the sticker to your liking.
Method 3: Create an Elements Collection
This method seems the most complicated, but's it's easy once you get the hang of it, and BY FAR my favorite way to use stickers while planning! It's actually pretty similar to the drag & drop method, except you'll be dragging the stickers into an elements folder within Goodnotes. If you have a set of favorite stickers that you use frequently, this method is perfect for you!
Here's how to add stickers to elements in GoodNotes5:
- Open GoodNotes 5 in split screen with your files app.
- Tap on "elements" in the toolbar (it looks like a star in an oval).

- Scroll along the bottom til you find the the "plus" icon, then tap that to create a new elements folder.
- Drag and drop all your favorite stickers into the new elements collection.

- Name your elements collection & tap "create" to save it.
- Now, you can access these stickers easily within elements on the toolbar.
Now you're an expert on the best ways to import digital stickers into GoodNotes5. Whether you prefer using the .goodnotes sticker book format, the drag and drop method, or adding stickers to elements, using these techniques will take the overwhelm out of personalizing your planner spreads with digital stickers!
If you have any questions or need assistance with your Aiko + Mae stickers, feel free to reach out to me anytime. Your support means the world to me!
Want some FREE stickers to get started with? Subscribe to the Aiko + Mae email newsletter for more great tips like this one, plus access to our entire freebie vault where you can download free digital stickers!
Pin this post for later: